
The loop in one paragraph
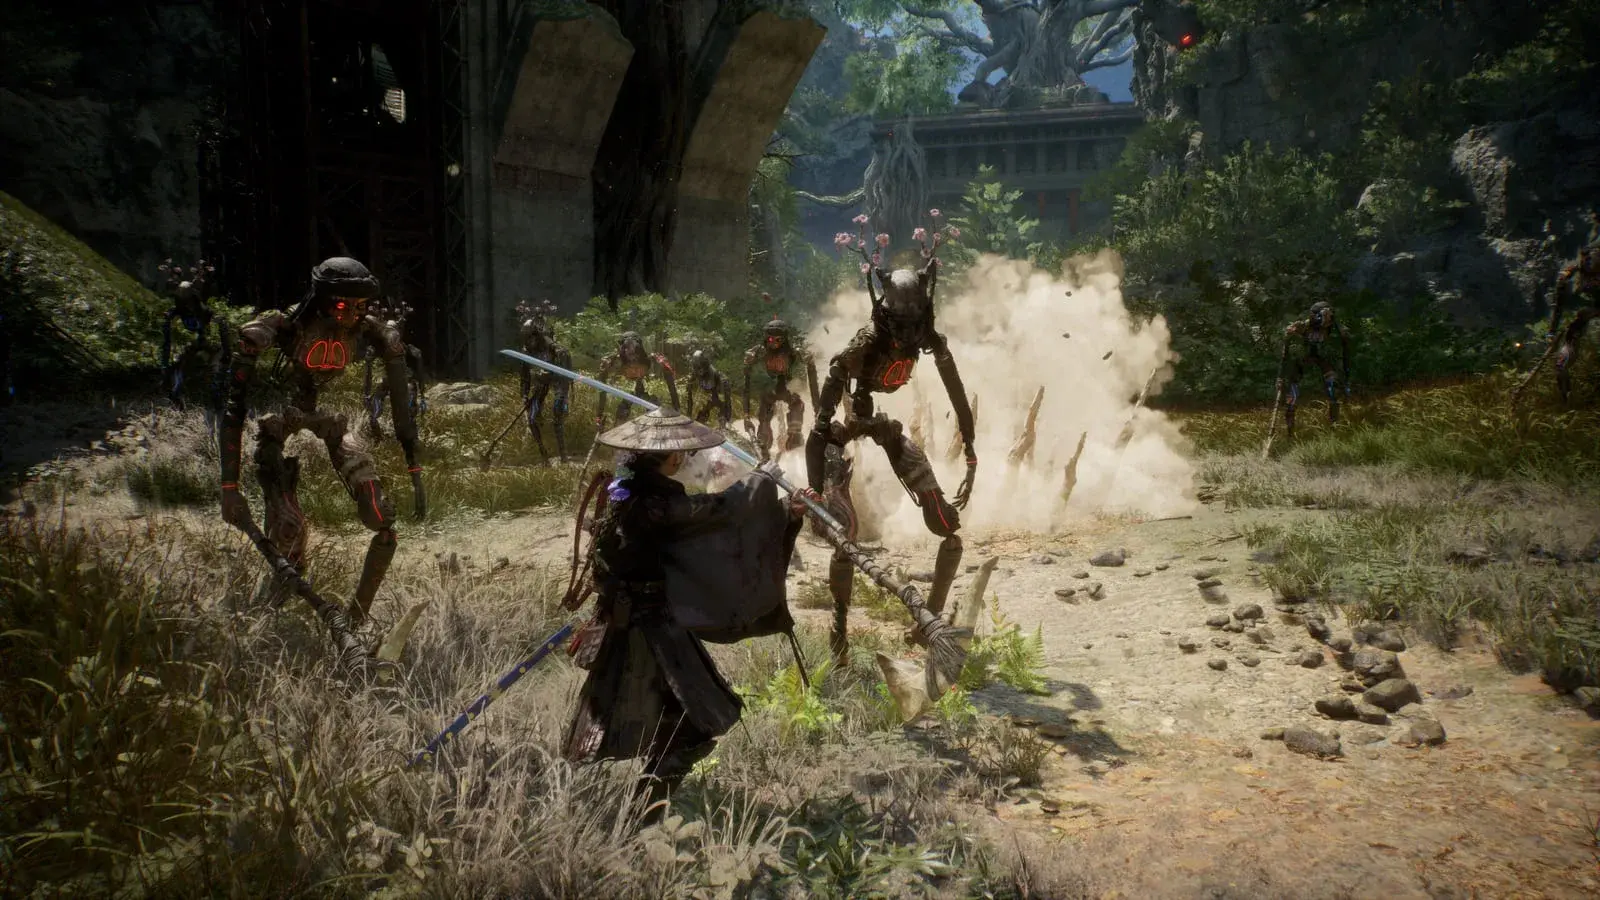
You parry to take no damage. The parry fills FP. FP buys Bloom Arts from Koo. Bloom Arts and your own hits fill the enemy’s Down Gauge. A full Down Gauge opens a takedown. Every part of that chain is paid for by the first step, which is why a passive player runs the whole engine dry.
The Down Gauge
The second bar under an enemy’s health. Hits build it and parries build it faster. When it fills, the enemy is cracked open for a takedown finisher that does enormous damage. Fights end dramatically quicker once you play for this bar instead of the health bar above it.
FP and Bloom Arts
FP sits in the bottom right and fills on every successful parry. Spending it opens Koo’s command menu, which slows time while you choose. The abilities you pick there are Bloom Arts. Koo also has a Full Bloom state described as roughly doubling damage — we have seen it, but not measured its trigger or duration, so it is flagged rather than stated.
- FP is generated by defence, spent on offence. That inversion is the whole design.
- Time slows during Bloom Art selection, so the menu is not a DPS loss.
The one attack you cannot parry, and it is the one that kills people
Everything above says parry more. There is exactly one category where that advice is actively wrong, and it needs to be said in the same breath: red-flash attacks defeat both guard and parry. IGN’s combat guide is explicit about it. Holding block and pressing parry produce the same outcome against one, and it is the bad one — the flash is the game telling you in advance that your defence is not in the conversation. The only answer is distance, which is what Roll is for, and Roll’s published case is narrow and honest: the unblockable attacks a parry does not answer, and elites that swing many times in succession.
- Roll is expensive to reach. It sits on the Tracking Shot branch — Emma’s ranged one, a strange home for a movement node — and its cost badge reads 30, against 8 for Helm Splitter.
- Whether Roll has an invulnerability window at all is unpublished. Nobody has measured it and it is not guessed at here.
- Any attack in Emma’s four-hit combo cancels into a guard at any point, so committing to a swing never commits you to eating the answer.
The reserve behind your guard, and why long strings are a resource problem
The detail that turns parrying from a timing problem into a resource one: IGN reports that the entanglement gauge doubles as the block reserve, and when it empties you are left defenceless. Against a normal enemy this rarely comes up. Against an elite that attacks many times in succession it is the whole fight — the failure is not a mistimed parry, it is running the meter to zero and getting caught with nothing left mid-string. Watch the gauge rather than the enemy in those fights, and treat backing off as a real option: the reserve refills, and being defenceless does not.
Fighting groups
Koo’s Taunt pulls nearby enemies off you, which is the answer to most multi-enemy encounters. Emma’s airborne options matter here too: Helm Splitter is an area attack held from a jump that does high damage and heavy stagger, and stagger is Down Gauge progress against several targets at once.
- With one caveat this page carried for a month without stating. Skill Up, reviewing after a full playthrough, reports that Emma can neither block nor parry in the air. So an airborne opener spends the defence this entire page is built on, and it qualifies the advice above rather than replacing it — jump into a group you have already opened, not into one that is still swinging.
What is still open
Full Bloom’s exact trigger and duration. Whether the turn layer can be declined. And every number the parry itself runs on: there is no published parry window in frames or milliseconds, no figure for how much FP a parry returns, no stagger value, and no capacity for the entanglement reserve. Two creators do not even agree on the resource’s name — LaserBolt calls it FP, another calls it mana. All of it is being played rather than inferred, and none will appear here as a number until it has been.