
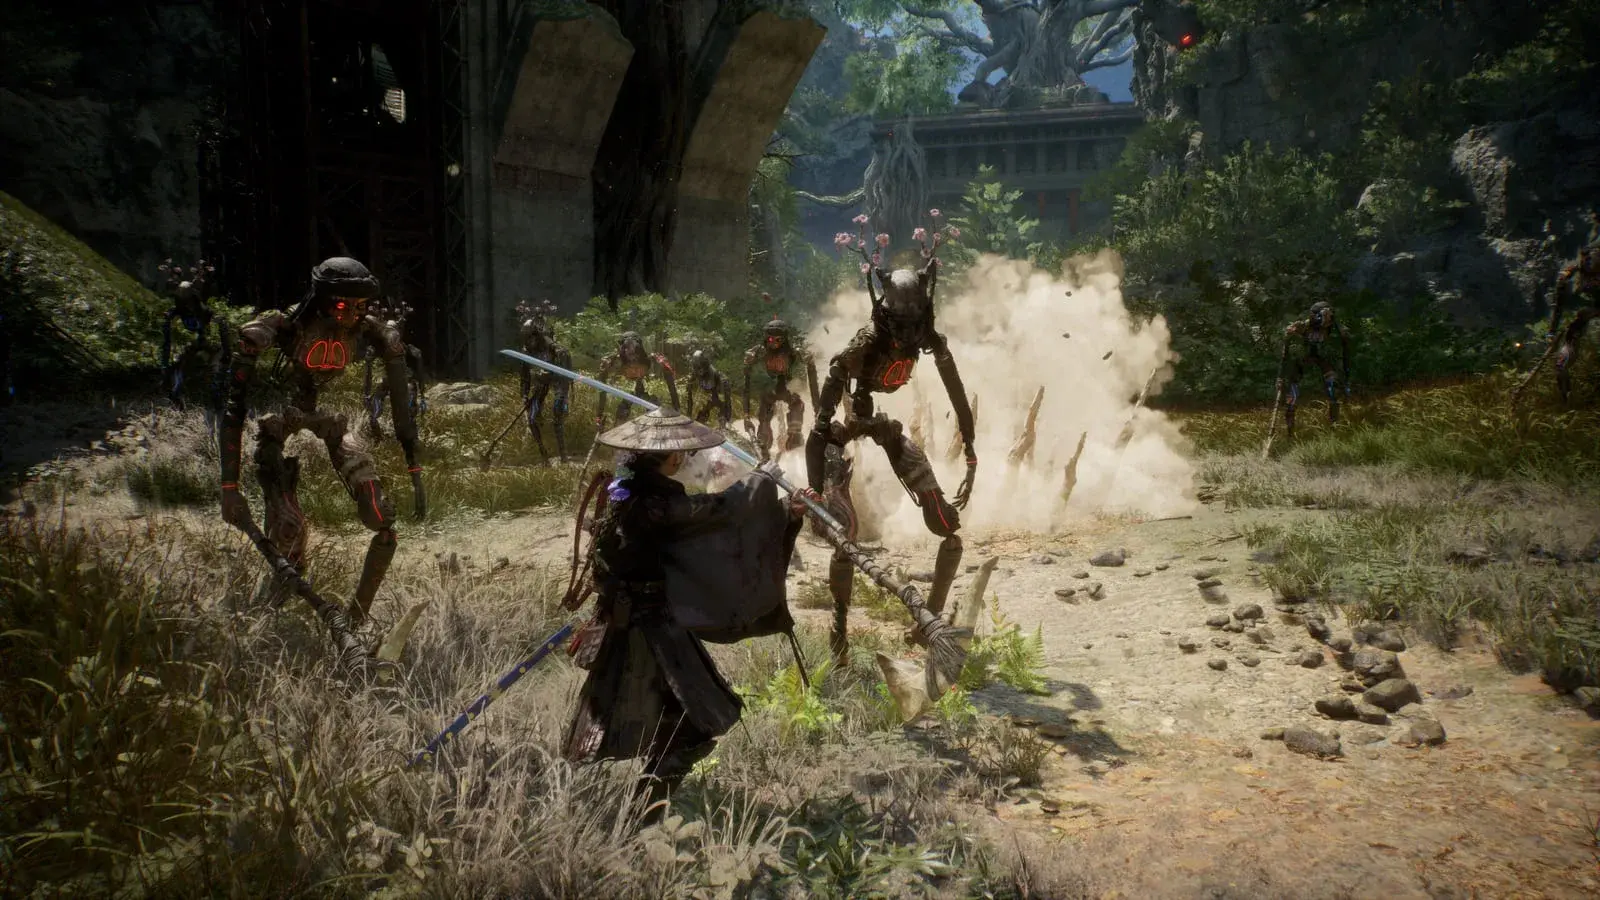
Four elements build status, four do not
Poison, acid, flame and lightning build toward a status. Build-up shows as a circle filling beside the enemy’s life bar; on threshold the status lands and ticks damage over time, sometimes with a secondary effect — lightning can stun. Rupture, destructive, impact and explosive do not build status but still hit weaknesses, and they are often attached to Koo’s attacks. Destructive breaks shields, which is worth remembering the first time a shield stops you.
Two combinations escalate
This is the only place in the system where two mechanics multiply, and it is the part most guides reduce to a list. Drenched and Oily are the two states involved, and neither is damage — they do nothing on their own and exist to turn one damage type into a worse one. They are catalogued as status effects rather than as elements, with their cures, their sources and what is not published about them, on the status-effects page; this page stops at the recipe.
| Set up | Then apply | Result |
|---|---|---|
| Drenched | Electric damage | Jolt — a stronger version of shocked |
| Oily | Sustained fire damage | Scorch |
Drenched
- Then apply
- Electric damage
- Result
- Jolt — a stronger version of shocked
Oily
- Then apply
- Sustained fire damage
- Result
- Scorch
Which weapons deal which type
The eight types above are a taxonomy; this is the lookup. Pick a damage type and it lists every weapon in the catalogue that carries it, with the two escalating combinations shown when nothing is selected. The elements come off the weapon records themselves rather than being retyped here, so a corrected record corrects this panel — and a type with nothing behind it stays visible as an empty result rather than being dropped, because a gap in the catalogue is worth seeing.
Pick a damage type
Four of the eight build a status; four do not. The number on each chip is how many catalogued weapons carry that type — read off the weapon records themselves, so it moves when the catalogue does.
The two that escalate
Drenched + Electric → Jolt
a stronger version of shocked
Oily + Flame → Scorch
sustained fire, not a single hit
Zone weakness: the enemy set repeats, so build for the zone rather than the fight
An icon beside an enemy’s health bar names what they are weak to, and it is drawn for ordinary enemies as well as bosses — so the weakness is readable before you commit to a fight rather than after. Zones carry consistent enemy sets, which is what makes a zone weakness a real thing to build around rather than filler advice: swapping to the type a zone is soft to pays off across every encounter in it, not once. The worked example is an ancient-civilisation zone in the Kanto region full of lightning-weak enemies, with a vendor in the same zone selling a lightning arrow manual — the game itself is telling you what to carry, in the shop.
- That worked example is the only zone-to-weakness pairing anyone has published. There is no full per-zone table in any source this site can read, and inventing one from thirteen region names would be the kind of table that looks most authoritative where it is least sourced.
- The icon is the reliable route and it costs nothing: look left of the health bar before you engage.
- Armour carries Emma’s elemental resistances, so a zone-specific loadout is two decisions — what you deal, and what you are protected from.
The loadout is locked once the fight starts, which is why the zone is the unit
You cannot change gear during combat. Whatever sword Emma is holding when an encounter begins is the sword that fight is fought with, and the same is true of what Koo has equipped. That single constraint is what turns everything above from trivia into a decision, and it is why the useful habit is not "identify the weakness" but "arrive already carrying the answer" — a handful of swords in different damage types, all kept upgraded, swapped between encounters rather than inside them. Because zones reuse their enemy sets, the swap is worth making once per zone rather than once per fight.
- Koo’s Bloom Arts carry an elemental icon beside the ability name. Match that icon to the zone the same way you match the sword, and a follow-up bolt or arrow of the same element continues what he started rather than splitting your damage across two types.
- The worked lightning chain, in order, from the one source that publishes it end to end: the ancient-civilisation zone in Kanto is full of lightning-weak enemies → a vendor inside that same zone sells the lightning arrow manual → equip an electric Bloom Art on Koo → lightning staggers a weakened enemy into shock → the shock is the attack window. IGN calls the result a solid early lightning build, and this site has a creator-attributed build page for the same idea.
- Upgrades come out of one amber budget shared between melee and ranged, so committing to a zone loadout is also a spending decision. That economy is not re-explained here — it has its own page.
- What is NOT established: any per-zone weakness table beyond the Kanto example. The icon beside the health bar remains the only reliable route, and it costs nothing to read before you engage.
Support types
Recovery heals HP and support clears Emma’s statuses; "special" covers what does not fit elsewhere, including Koo’s taunt and snatch. Equip recovery and support and Koo uses them on his own. Armour sets carry Emma’s elemental resistances, so what you wear is also what you are protected from.