Skip to content
Beast of ReincarnationGuide & wiki

17 September 2026 update
Updated 2026-09-18

Beast of Reincarnation Hunger Meter

An empty meter costs you healing, not health — and only between fights. What every guide agrees on, the one claim only Game Rant makes, and the free resource that makes forgetting the only real failure.

Applies to 17 September 2026 updateUpdated

By

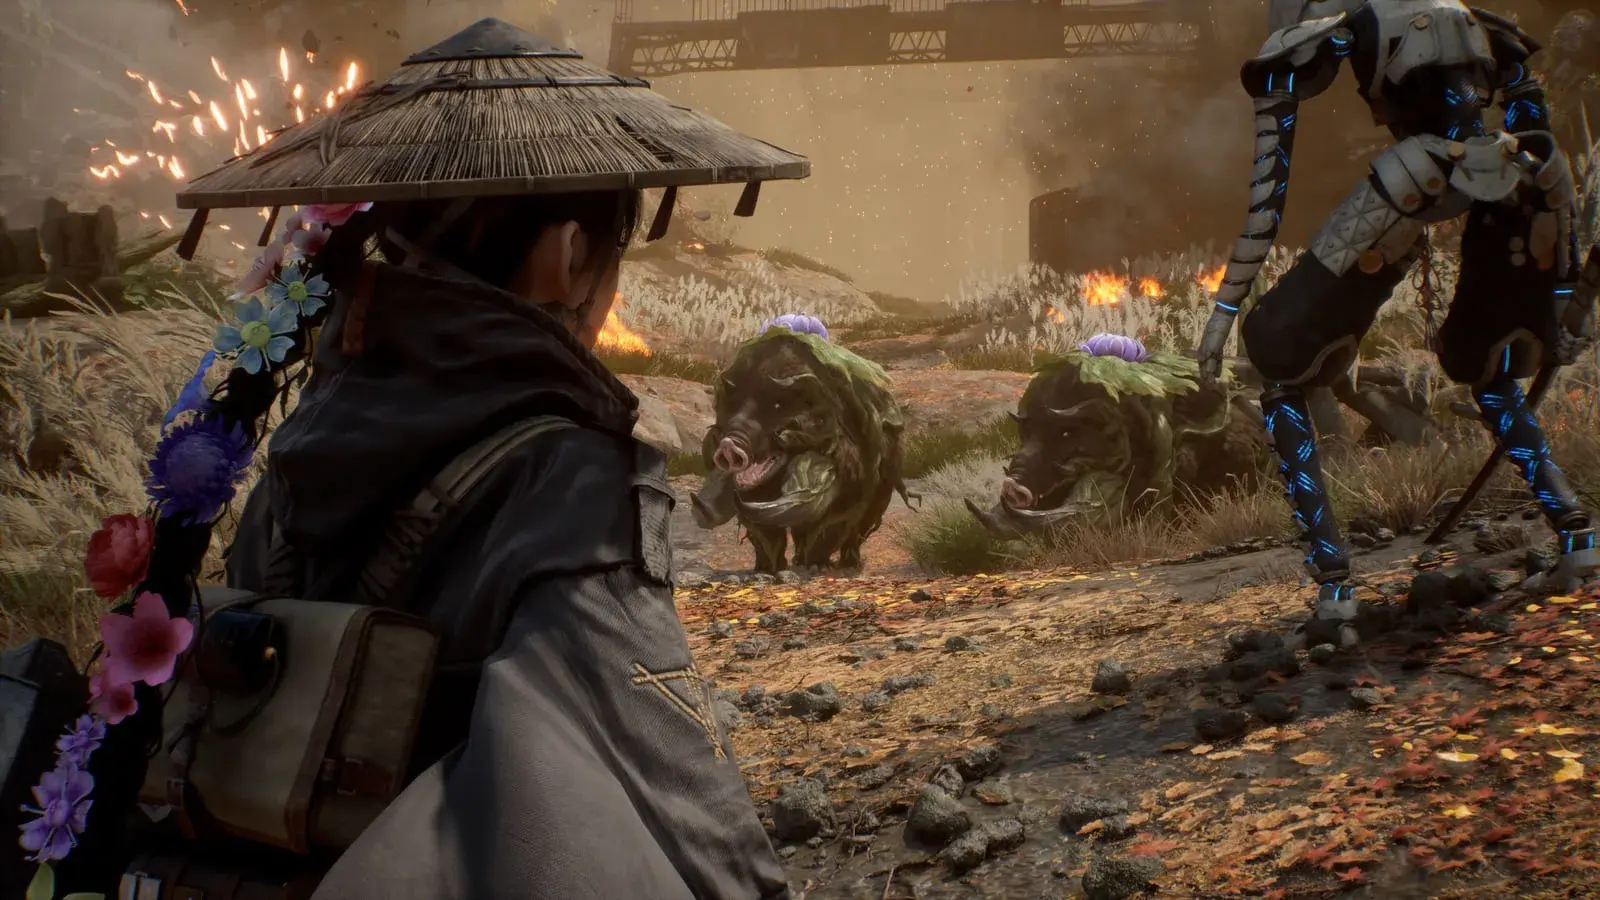
An over-the-shoulder view past Emma’s flower-hung straw hat toward two boar-like beasts with purple blooms on their heads and a tall blue-lit mechanical strider, embers rising from a burning field
Image: Official February 2026 pre-launch marketing screenshot, Xbox store gallery (product 9NXWSWBM4H6T, 3840×2160), read 2026-08-05

Nobody has published a regen rate, a tick interval or a meter capacity for this system, so nothing on this page states a number — including the panel, whose bar is a position rather than a percentage.

Move the meter

Emma and Koo carry one of these each — a small circle with a grain icon beside the health bar. Drag it and the readout says what every source agrees happens at that position, and, separately, the one thing only one source claims.

Emma
Koo

What every source agrees on

Passive HP recovery continues.

What only Game Rant says

That the rate scales — “the more full they are, the more HP they will gradually recover”. ScreenRant and NerdsChalk both describe the same system without a slope. Nobody publishes a number either way, so this is one guide’s sentence, not a measured curve.

It only pays out between fights

NerdsChalk is the only source that pins this down: the recovery is what happens “outside combat”, while you are exploring between encounters. That is what makes an empty meter expensive on a long exploration run and almost irrelevant during a boss — you were not regenerating mid-fight anyway.

What puts it back

  • Field RationsItem text names both meters. The default refill.
  • Grilled MeatCooked at a campfire from raw ingredients. Fills both.
  • Grilled FishPulled from rivers, cooked on the spot. Fills both.
  • Hard CandyIn the pack from the start of every trip out.
  • Koo treatsHis half of the pack. Feed him separately — his meter is his own.

Every time you leave the Cleanse Walker the pack refills with field rations, hard candy and Koo treats. Press down on the d-pad to open it, or use View Pack at a camp. So the resource is free and the only real failure is forgetting.

No source publishes a regen rate, a tick interval or a meter capacity, so this bar is a position rather than a percentage and the readout never states a number.

What fills it, and the one fight it changes

Cooking — the other food system, and the only one that raises a stat permanentlyEvery dish and ingredient, with what each one is made ofStatus effects — the slip damage a fed character loses more slowly toCombat — why the recovery you are protecting only runs between fights
§01

An empty meter costs you healing, not health

This is the question people actually arrive with, so it goes first: starving does not kill you. Emma and Koo each carry a hunger meter — a small circle with a grain icon beside the health bar — and it falls as you travel and fight. While it has anything in it, that character slowly recovers HP on their own. When it empties, the recovery stops. Nothing else happens. NerdsChalk puts it in the sentence this page would have written if it had got there first: hunger is a recovery limiter, not an instant death timer.

  • Two meters, not one. Feeding Emma does nothing for Koo, and his treats are a separate item in the same pack.
  • The recovery is passive and it is free. There is no cost to being fed beyond remembering to do it.
  • It only pays out between fights — see below, which is the detail that decides when this matters.
§02

It only works out of combat, which is what decides when it matters

NerdsChalk is the only source that pins this down, and it changes the advice completely: the recovery is what happens outside combat, while you are exploring between encounters. So an empty meter is expensive on a long exploration run — the chip damage from trash mobs stops healing back and you arrive at the next fight already down — and close to irrelevant during a boss, where you were never regenerating anyway. If you are dying to a boss, hunger is not what is wrong. If you are arriving at bosses at 60% health, it probably is.

§03

The one thing the guides disagree about

Every source agrees an empty meter stops recovery. Only Game Rant says the rate scales with how full the meter is — "the more full they are, the more HP they will gradually recover". ScreenRant describes the same system as a threshold and never mentions a slope; NerdsChalk does the same. Nobody publishes a number on either side. This matters practically: if the threshold reading is right, topping up from a quarter full is wasted effort and the only state worth avoiding is empty. If Game Rant is right, a full meter is doing real work. Until somebody measures it, the safe play is the cheap one — the pack refills for free, so keep it topped and the question never comes up.

§04

The fight where a full meter is doing the most work

AppMedia, writing in Japanese, makes a connection the English guides do not: keep 満腹度 topped up because the continuous HP recovery blunts the slip damage a status effect does over time. That is tactical advice from a competitor rather than a first-party statement about damage numbers, and it is worth what that is worth — but it is the one situation where the two systems interact, and it explains why the Japanese portals treat hunger as a combat topic while the English ones file it under survival. If you are bleeding out from poison or acid on the way back to a camp, a fed character is losing that race more slowly.

§05

The resource is free, so forgetting is the only failure

Every time you leave the Cleanse Walker your battle pack refills with field rations, hard candy and Koo treats. Open it with down on the d-pad, or use View Pack at a camp. Field Rations, Grilled Meat and Grilled Fish are the cleanest options because their own item text names both meters, and fish come out of any river and cook on the spot when the pack runs dry. There is no economy here to manage and nothing to ration — which is exactly why the meter catches people out, because a system with no cost attached is the one you stop looking at.

Beast of Reincarnation Hunger Meter FAQ

It gates passive HP recovery outside combat. While a character’s meter has anything in it they slowly heal between fights; when it empties, that stops. It does no damage of its own.

Sources for this page

  • NerdsChalk — Hunger Meter: How Food and HP Mechanics WorkPress guide, read 2026-08-11, and the only source that pins the regeneration to being out of combat: "an empty meter stops their gradual HP recovery outside combat". Its framing line — "Hunger is a recovery limiter, not an instant death timer" — settles the question players actually arrive with, which is whether starving kills you. Names Field Rations, Grilled Meat and Grilled Fish as the items whose own descriptions say they fill both meters.
  • ScreenRant — How to Manage Hunger Meter & CookPress guide, read 2026-08-11 — states the threshold form of the rule ("As long as their hunger meter isn't completely depleted, their HP will slowly regenerate. Get too hungry, and the HP regen stops completely") and does not claim the rate varies with fullness. Also the clearest source on where the meter is drawn: a small circle with a grain icon beside each character's health indicator, one for Emma and one for Koo.
  • Game Rant — Manage Hunger & Food for Optimal HealthPress guide, read 2026-08-11, and the sole source for the scaling claim: "Hunger affects Emma's and Koo's auto HP regeneration. Meaning, the more full they are, the more HP they will gradually recover." No other guide we hold says the rate varies, and none contradicts it outright — they describe a threshold instead. Cited as one position of two, not as the answer.
  • AppMedia — 状態異常の効果と対策Competitor claim, Japanese, read 2026-08-11 — evidence that the Japanese portals connect the two systems the English guides treat separately: it advises keeping 満腹度 topped up because the resulting continuous HP recovery blunts status-effect slip damage. That link is why /ja/hunger/ sits beside the status-effect material and not only beside /ja/cooking/ — as of 2026-08-22 that hand-off points at /ja/elements/, /ja/status-effects/ having been folded into it. Tactical advice from a competitor, not a first-party statement about damage numbers.

More Beast of Reincarnation guides

Beast of Reincarnation Amber and Weapon UpgradesBeast of Reincarnation Entanglement: The Gauge, and What Fills ItBeast of Reincarnation Charms: One Rolled Mod, Not SixBeast of Reincarnation Spirit Stones: The Wiki Number Is Rank 3